Apple Business Connect -integroinnin julkistaminen
Lue lisää →.webp)
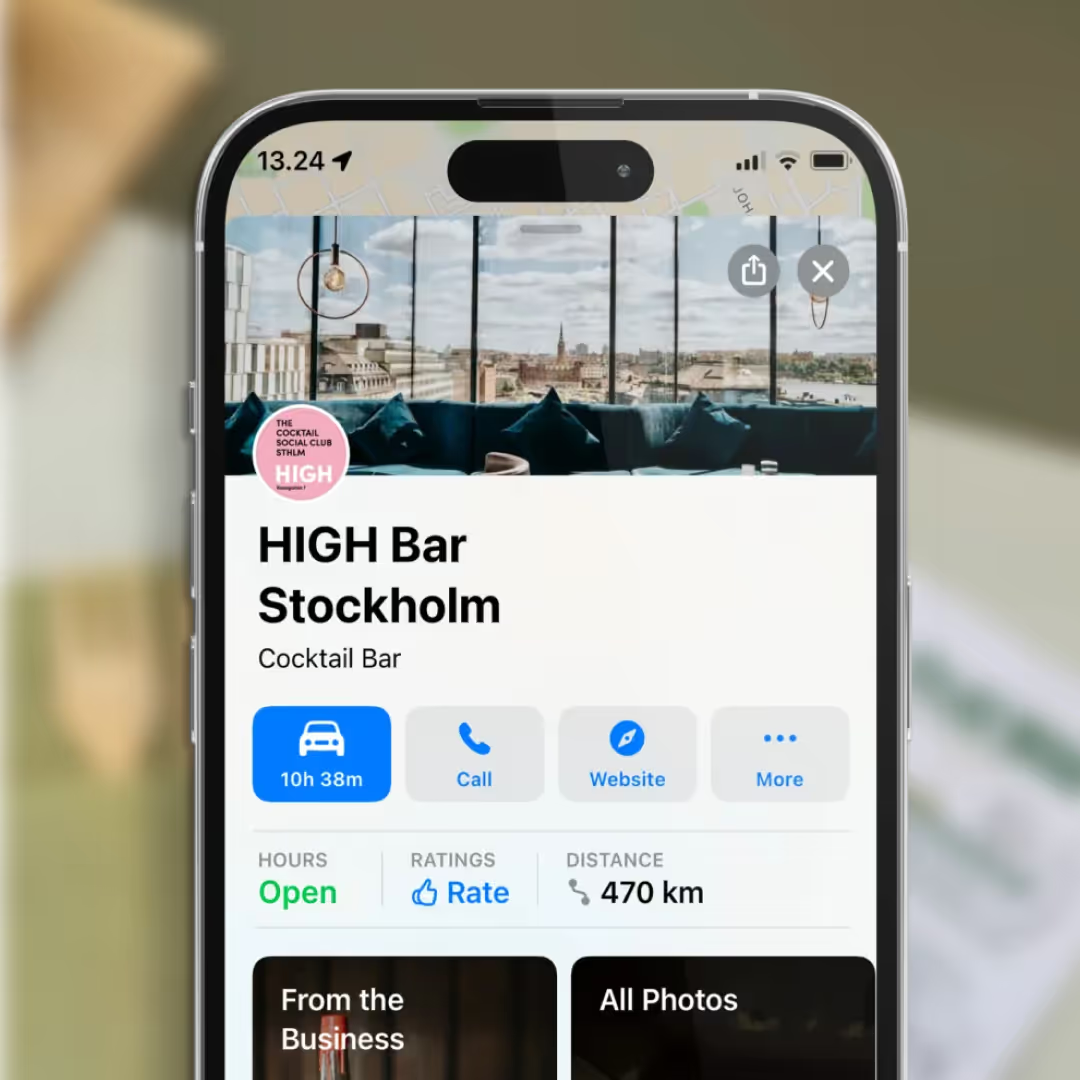
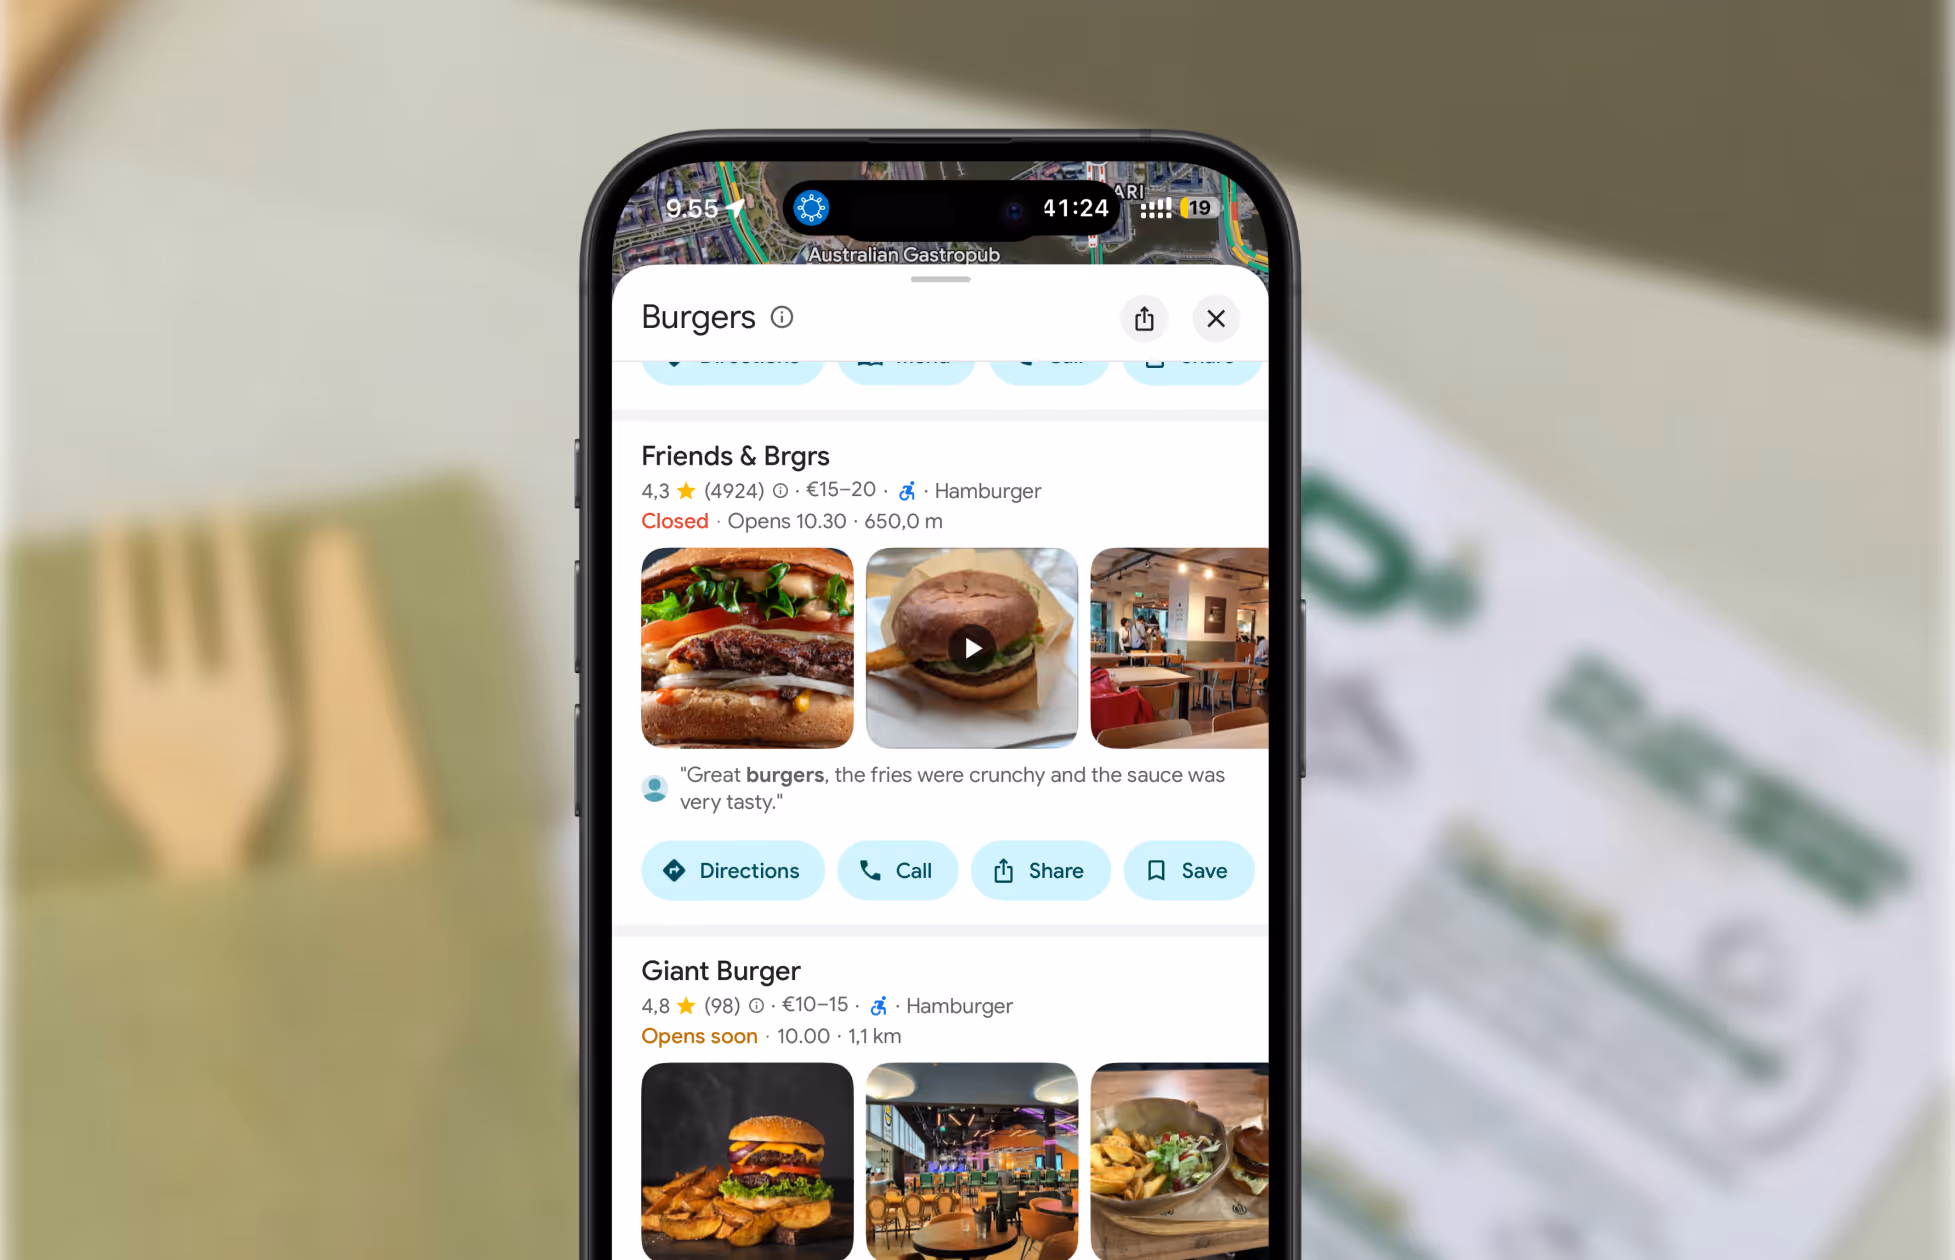
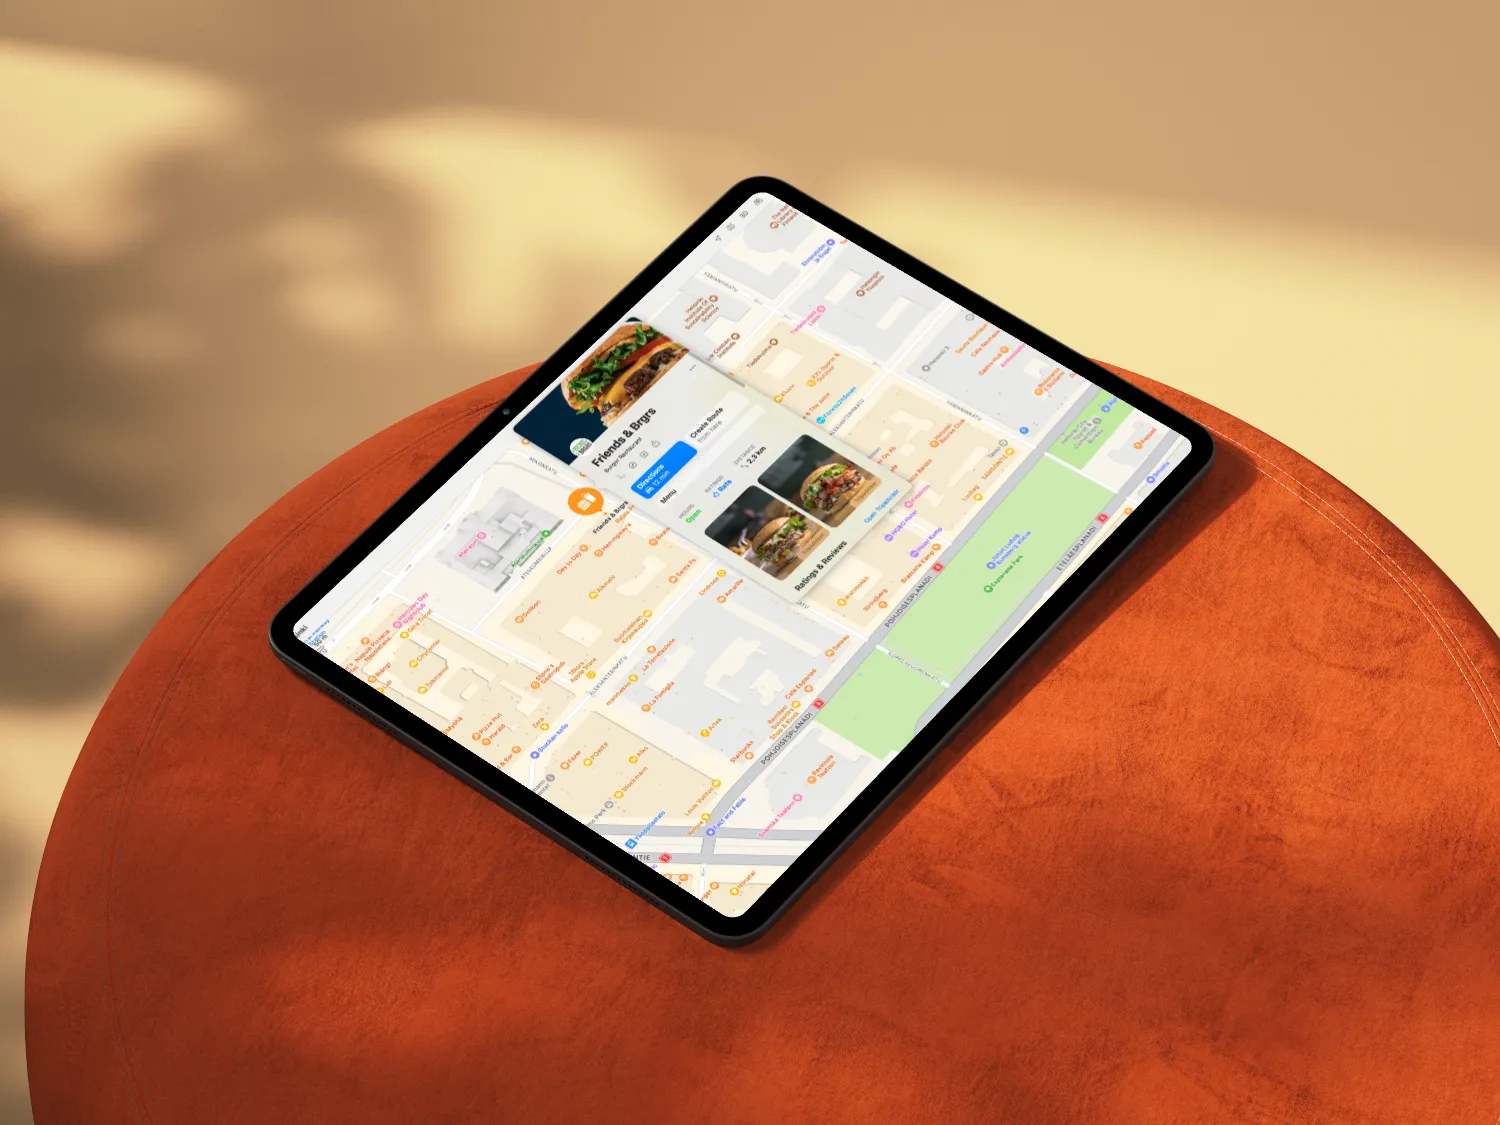
Apple Maps isn’t just catching up to Google—it’s become a daily essential for over 100 million adults in the US. If your business isn’t showing up where your customers search, you’re missing out. Apple’s new Business Connect platform makes it easier than ever to claim, update, and showcase your business across Apple Maps, Siri, and beyond. Ready to get found? Here’s how.
Step 1: Create or Use Your Apple ID
Don’t have one? Create an Apple ID. You’ll need a mobile number for two-factor authentication.
Step 2: Sign In to Business Connect
Head to Apple Business Connect and sign in (top right corner).
Step 3: Search for Your Business
Use your business name, city, or phone number. If Apple doesn’t find your business, you’ll see an option to add a new location.
Step 4: Add Your Location
Select “Add a new location with this name.” Enter your business address and set your coordinates—either manually or by dragging the map pin.
Step 5: Fill in the Details
Add your business categories, website, and opening hours. For single locations, enter your NAP (name, address, phone) again. For multi-location brands, add your head office info.
Step 6: Agree to Apple’s Terms
Tick the box to confirm you accept Apple’s terms of service.
Step 7: Verify Your Business
Upload an official document (like a lease or utility bill) showing your business name and address. Note: For new locations, phone verification isn’t available—Apple wants to keep listings real and spam-free.
Step 8: Unlock Your Dashboard
Once verified, you can add business descriptions, images, and attributes to make your listing stand out.
Step 1: Sign In
Log in to Business Connect with your Apple ID.
Step 2: Find Your Business
Search for your location—it should appear in the suggestions.
Step 3: Select and Continue
Choose your business, click ‘Next,’ and follow the prompts.
Step 4: Update Your Info
Add or update your business details as needed (see steps above).
Step 5: Verify Your Business
For existing listings, you can verify by phone or upload a document. You can skip verification for now, but you’ll need to complete it to unlock all features.
Ready to get found on Apple Maps? With Mobal’s integration and expert support, claiming and optimizing your business has never been easier. Let’s put your business on the map—together.
.webp)

.webp)
.avif)