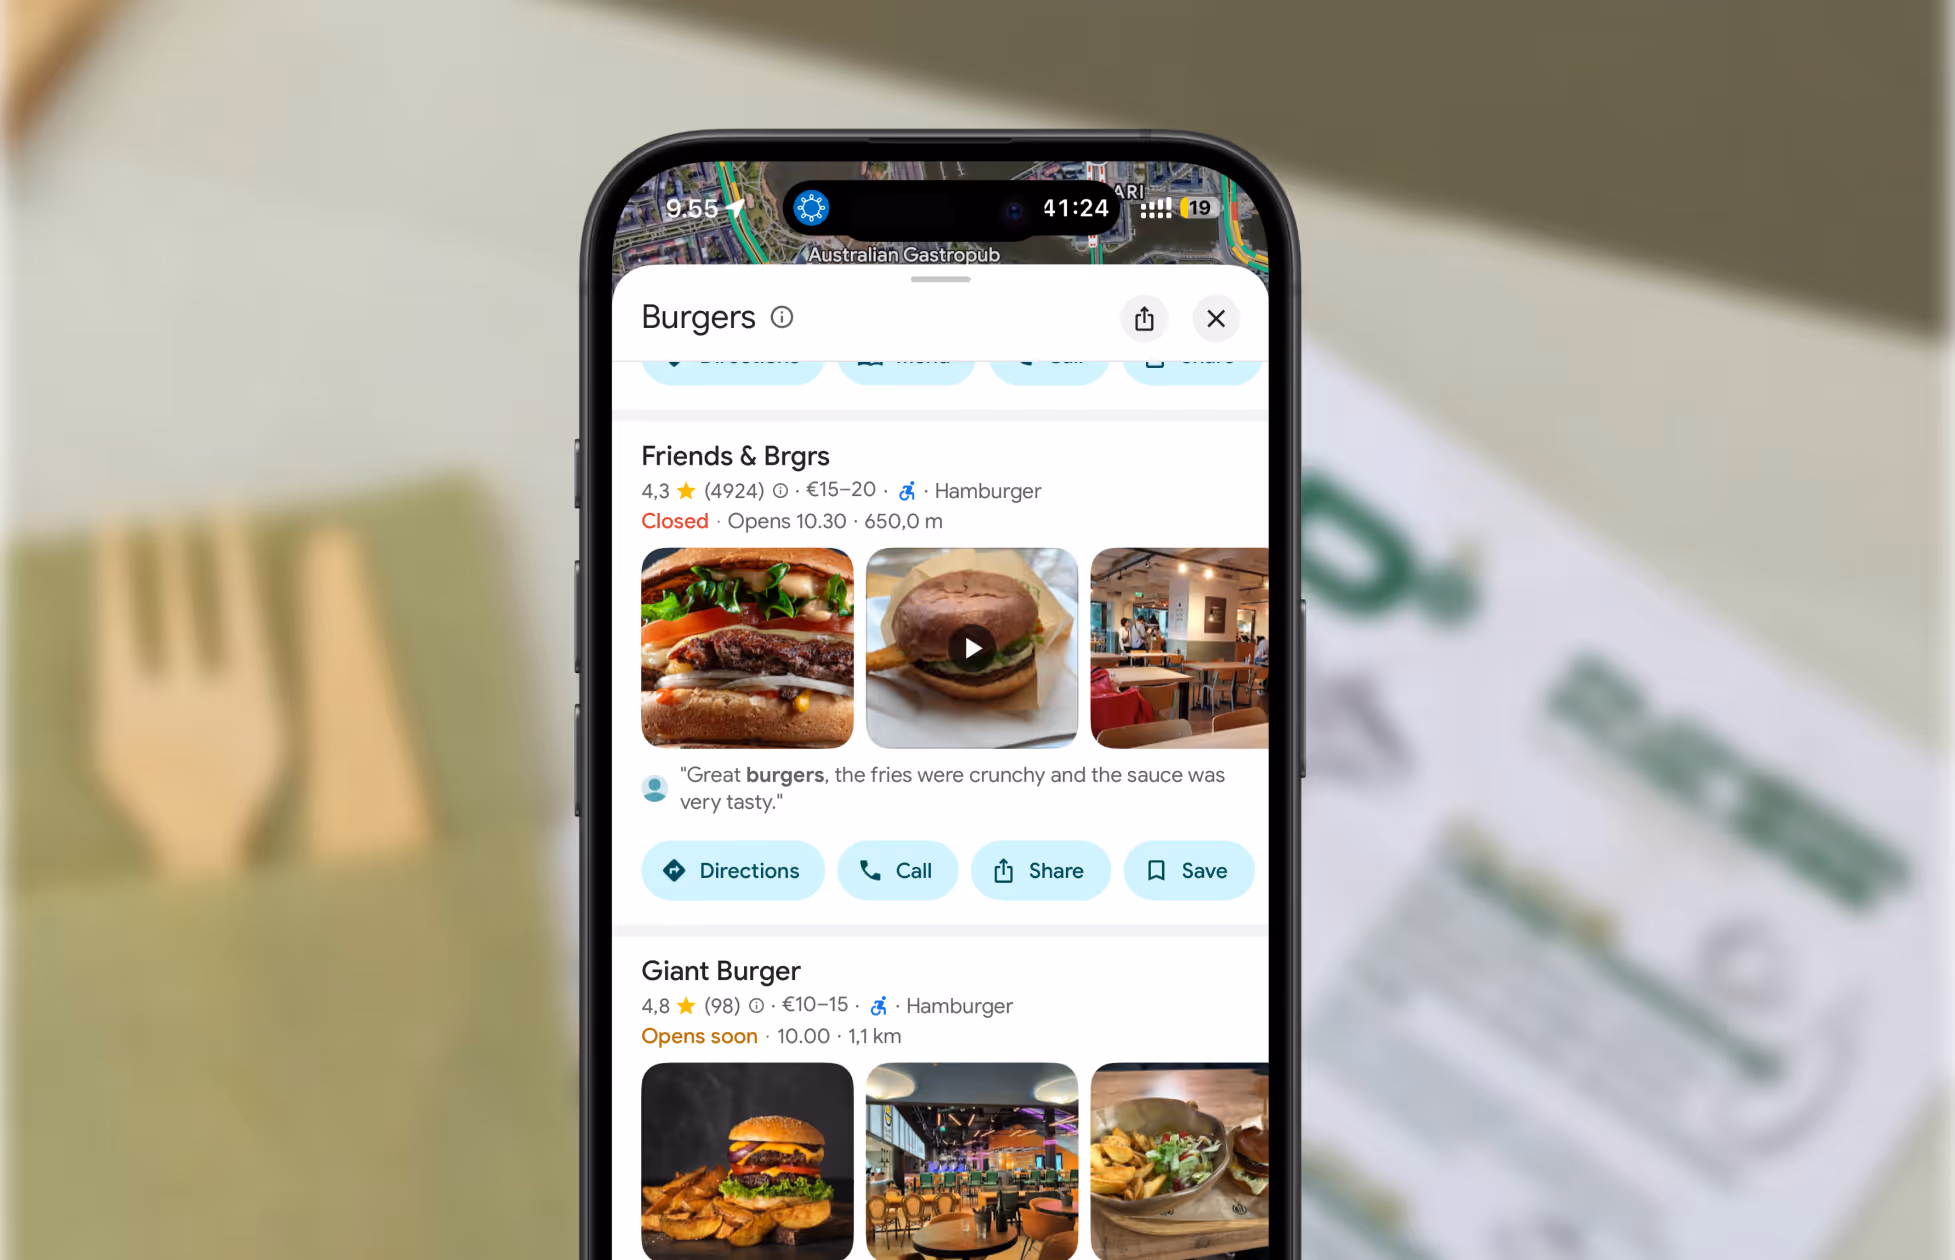
How to Add Your EV Charging Stations to Apple Maps
Electric vehicle drivers depend on accurate, real-time information to plan their routes — and Apple Maps is one of the fastest-growing navigation platforms for EV users worldwide. Listing your EV charging stations on Apple Maps ensures your chargers are visible where it matters most: right inside the apps drivers already use every day. This guide walks you through the exact steps to add and verify your charging stations through Apple Business Connect, optimize your listings with charger details and live availability, and reach more EV drivers effortlessly.
- Visibility that drives usage: Listing your EV charging stations on Apple Maps makes them discoverable to millions of iPhone users searching nearby.
- Simple setup with Apple Business Connect: Claim, verify, and manage your stations directly through Apple’s free business management platform.
- Accurate details matter: Include charger types, plug formats, and power output to help drivers find the right station fast.
- Real-time updates improve trust: Enable live availability and service status so drivers know exactly what’s working — and where.
- Optimize for reach and reliability: Keep your listings updated to ensure a smooth, reliable charging experience that builds your networ
Step-by-step guide to listing your EV charging stations on Apple Maps
Here’s a step-by-step guide to listing your EV charging stations on Apple Maps, along with an overview of the functionalities available.
Step 1: Verify Your Business with Apple Business Connect
Create an Apple ID: If you don’t already have an Apple ID, you’ll need to create one at Apple ID.
Sign in to Apple Business Connect: Go to Apple Business Connect and sign in with your Apple ID.
Add Your Business: Click “Add Place” to fill in your business details. For an EV charging station, ensure that it is categorize correctly under the appropriate business type.
Step 2: Provide Detailed Information
Location Details: Enter the precise location of your charging station. Accuracy here is crucial for drivers relying on Apple Maps for navigation.
Contact Information: Include contact details such as phone numbers or a customer service email address.
Operating Hours: Specify the hours of operation if your charging station has specific opening and closing times.
Step 3: Highlight EV Charging Specifics
Charger Types: List all chargers available at your station (e.g., Level 2, DC Fast Charger).
Plug Types: Mention the plugs supported (e.g., CCS, CHAdeMO, Tesla).
Power Output: Include information about the power output for each type of charger.
If your charging station technology supports it, integrate real-time availability updates. This feature lets EV drivers see the current status of chargers (available, in use, out of service) directly on Apple Maps.
Step 5: Submit for Review
Once you’ve entered all the necessary information, submit your listing for review. Apple will verify the details before your charging station appears on Apple Maps. This process may take a few days.
Step 6: Regularly Update Your Listing
Keep your Apple Maps listing up to date with any changes in services, availability, or contact information. Regular updates ensure that EV drivers receive accurate information.
Functionalities Available on Apple Maps for EV Charging Stations
Real-Time Availability: Users can see live availability of charging points, which helps in planning their stops more efficiently.
Filter by Charger Type and Plug: Drivers can filter stations based on the type of charger or plug they need, making it easier to find compatible stations.
Integrated EV Routing: Apple Maps can incorporate charging stops into the driving route, considering factors like charge level and total trip duration.
By listing your EV charging stations on Apple Maps, you not only enhance their visibility but also contribute to a smoother and more efficient driving experience for EV owners. Ensure that your listings are detailed and up-to-date to maximize the benefits of being featured on one of the most widely used navigation platforms.
What specific steps are involved in verifying a business with Apple Buisness Connect?
Verifying a business with Apple Business Connect is a crucial step to ensure that your business information is accurate and that you have control over the content that appears on Apple Maps. Here’s a detailed guide on how to verify your business with Apple Business Connect:
Step-by-Step Guide to Verifying Your Business with Apple Business Connect
Step 1: Sign In or Create an Apple ID
Create an Apple ID: If you don’t already have one, you need to create one. Visit the Apple ID account page and click on ‘Create Your Apple ID’. Follow the prompts to set up your account.
Sign In: If you already have an Apple ID, sign in to Apple Business Connect using your credentials.
Step 2: Add or Claim Your Business
Add New Business: If your business is not already listed on Apple Maps, you can add it by clicking on ‘Add Place’. Fill out the form with your business details such as name, location, and contact information.
Claim Existing Business: If your business is already listed but not claimed, you can claim it by searching for your business on Apple Business Connect and selecting the listing. You will then need to verify that you are the owner or authorized representative.
Step 3: Verify Your Business
Phone Verification: Apple may offer the option to verify your business by phone. If available, you’ll receive a call at the business number you provided, and you’ll be given a verification code to enter on Apple Business Connect.
Email Verification: Apple might send a verification code to that email if your business has an email address associated with its domain (e.g., contact@yourbusiness.com).
Postal Mail Verification: For some businesses, Apple may send a verification code via postal mail to the business address. This mail will contain a verification code you must enter on Apple Business Connect.
Step 4: Enter Verification Code
Once you receive your verification code through whichever method was available and chosen, enter this code into Apple Business Connect to complete the verification process.
Step 5: Review and Submit
After entering the verification code, review all the information you have provided to ensure accuracy. Once everything is confirmed, submit your listing for review. Apple will then verify the details, which may take a few days.
Step 6: Confirmation
Once your business is verified, you will receive a confirmation from Apple, and your business listing will be updated on Apple Maps. You can then manage your listing and update information as needed.
Tips for a Smooth Verification Process
Accuracy is Key: Ensure all information is accurate and up-to-date, as discrepancies can delay the verification process.
Be Prepared: During the verification process, have access to the business phone and email so you can promptly respond to verification attempts.
Follow-Up: If you haven’t received your verification code or if there are any issues, you can follow up with Apple Maps Connect support for assistance.
By following these steps, you can successfully verify your business on Apple Maps Connect, helping customers find accurate and reliable information about your business.
Get started today
Transform how you do business. Own your digital future.


.webp)


.webp)
.avif)